The Brand New Box Rails Book
Getting started with Rails for the benefit of everyone
Step 1 — Creating an Empty Container
We are going to house our Rails Application within a container, so in order to do this, we must first create it! On your machine, make an empty directory.
mkdir bnb-library
cd bnb-library
Instead of having to manage the versions of multiple different dependancies for your application such as Ruby, and Postgres, we maintain our own set of images that are:
- Based on Ruby
- Have PostgreSQL Client installed (you might opt for mysql-client)
- Have NodeJS installed (for compiling assets)
- There is some configuration of bundler so that it will install our gems in the
/bundledirectory.
In your new directory make a docker-compose.yml file and paste in:
docker-compose.ymlversion: "3"
services:
app:
image: brandnewbox/bnb-ruby:3.1-postgresql
command: bundle exec puma -C config/puma.rb
environment:
- DATABASE_URL=postgres://postgres:monkey@postgresservice:5432
volumes:
- .:/app:cached
- bundle_cache:/usr/local/bundle
ports:
- "3000:3000"
depends_on:
- postgresservice
postgresservice:
image: postgres:11-alpine
environment:
- POSTGRES_PASSWORD=monkey
ports:
- '5433:5432'
volumes:
- my_dbdata:/var/lib/postgresql/data
volumes:
bundle_cache:
my_dbdata:
Now let’s bash into this container
dip run bash

# output

Creating network "bnb-library_default" with the default driver
Creating volume "bnb-library_bundle_cache" with default driver

bash-5.1#
YAY! You are now at a bash terminal inside the container you just created.
Step 2 — Creating a New Rails Project
Let’s install rails and setup a new application. We’ll start by going into the root folder to make a app named bnb-library. Then we will move the files into their final resting place in /app. The shopt command in there helps us move the hidden files (like .gitignore) as well.
At the time of this writing, this will install Rail 7.0.4.
# from within your bash terminal

cd ..
gem install rails
rails new bnb-library --database=postgresql --javascript=webpack
shopt -s dotglob nullglob
mv bnb-library/* app
exit
After creating the rails project and exiting the container, we should run the chown command to own the files that were just created.
sudo chown -R $(whoami):$(whoami) * .git
You will see a good deal of output telling you what Rails is creating for your new project. We are going to highlight some of the significant files, directories, and commands that you can find in the output of running rails new:
- gemfile : This file lists the gem dependencies for your application. A gem is a Ruby software package, and a Gemfile allows you to manage your project’s software needs.
- app: The app directory is where your main application code lives. This includes the models, controllers, views, assets, helpers, and mailers that make up the application itself. Rails gives you some application-level boilerplate for the MCV model to start out in files like
app/models/application_record.rb,app/controllers/application_controller.rb, andapp/views/layouts/application.html.erb. - config: This directory contains your application’s configuration settings.
- config/routes.rb: Your application’s route declarations live in this file.
- config/application.rb: General settings for your application components are located in this file.
- config/environments: This directory is where configuration settings for your environments live. Rails includes three environments by default:
development,test, andproduction. - config/database.yml: Database configuration settings live in this file, which is broken into four sections:
default,development,production, andtest. Thanks to the Gemfile that came with therails new bnb-library --database=postgresql, which included thepggem, ourconfig/database.ymlfile has its adapter parameter set to postgresql already, specifying that we will use an postgresql database with this application. - db: This folder includes a directory for database migrations called migrate, along with the
schema.rbandseeds.rbfiles.schema.dbcontains information about your database, whileseeds.rbis where you can place seed data for the database.
Step 3 - Version Control
Now that you’ve got your awesome app already to go, let’s setup version control so we don’t lose any of our work. Create a new repository on GitHub with nothing in it. Then, from within your working directory:
git init
git add .
git commit -m "First commit"
git branch -M main
git remote add origin git@github.com:brandnewbox/my-great-project.git
git push -u origin main
Step 4 - Starting Your Application
We are going to want to interact with our app in the browser, but first, we must setup our database.
The application knows how to connect to the postgres service because we are passing the DATABASE_URL in from the environment in docker-compose, where this is well-known.
All we need to do is run the setup command. This will spin up an instance of the app container to run the command in (as well as an instance of the postgres service that the app depends on).
dip setup
This will run all the commands in bin/setup that helps prepare your application. You can expect an output similar to
== Installing dependencies ==
The Gemfile's dependencies are satisfied

== Preparing database ==
Created database 'bnb_library_development'

== Removing old logs and tempfiles ==

== Restarting application server ==
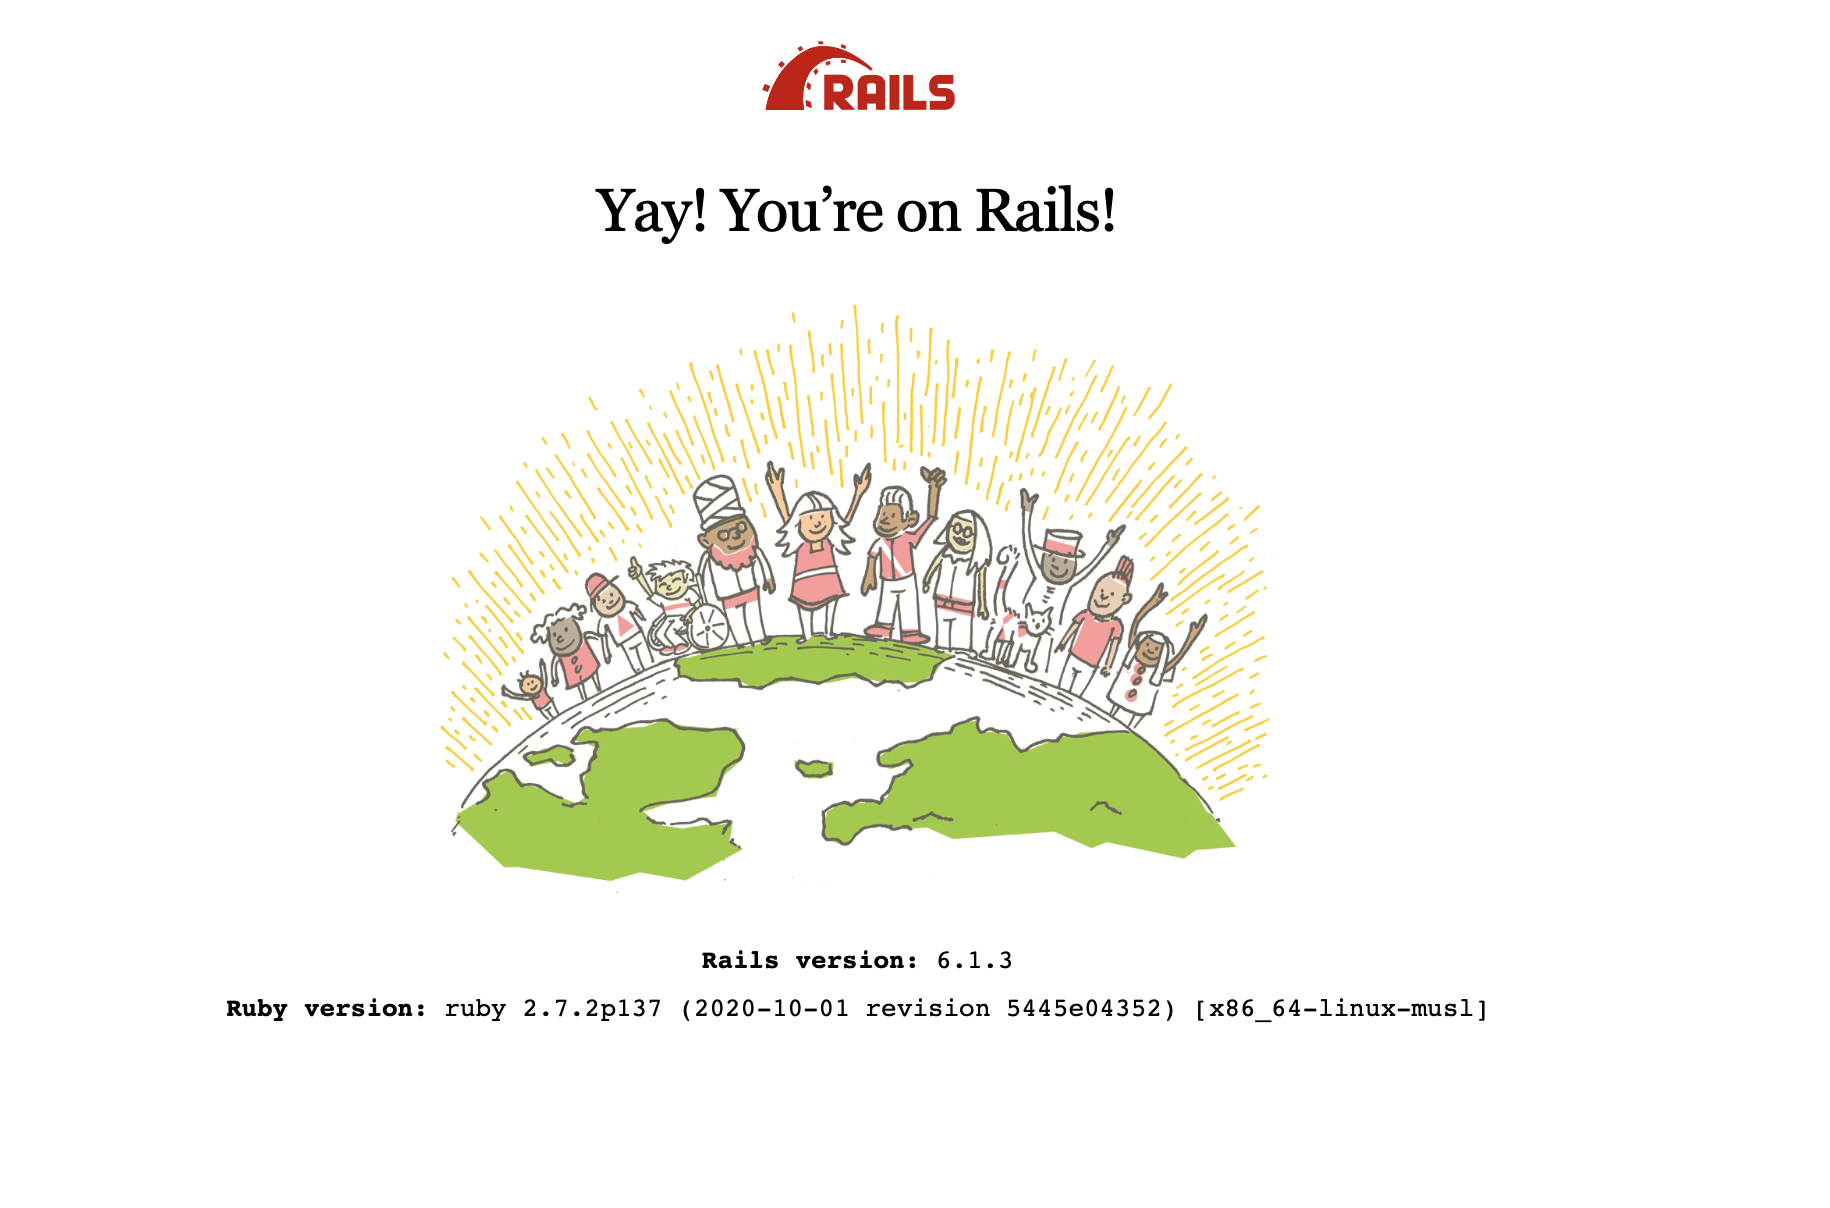
Now let’s start your application’s server and see the landing page rails has created for us.
dip up
Navigate to http://localhost:3000 in your browser to see the magic.
